기본적인 html 태그와 css 속성 정리
HTML 태그
css에 앞서, 몇가지 기본적인 html tag들에 대해서 먼저 정리한다.
- HTML Heading
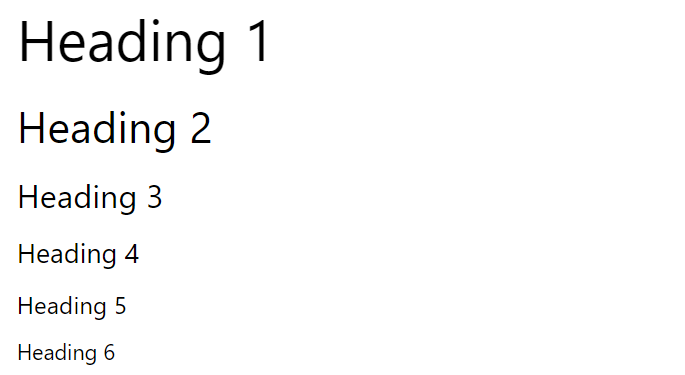
html heading은 제목이나 부제목을 쓸 때 주로 사용한다.
<h1> Heading1 </h1>
<h2> Heading2 </h2>
<h3> Heading3 </h3>
<h4> Heading4 </h4>
<h5> Heading5 </h5>
<h6> Heading6 </h6>
- HTML Paragraph
paragraph는 새 줄에서 시작하고, text block으로 생각하면 된다.
<p>This is a paragraph.</p>
<p>This is another paragraph.</p>
<p>Hello, parargaph:)</p>

- HTML Style
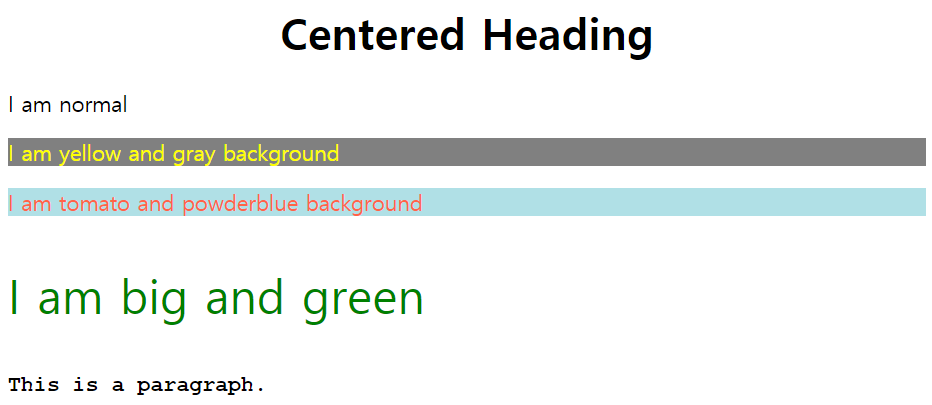
html style attribute는 element에 color, font, size 등등 으로 스타일을 줄 수 있다.
<h1 style="text-align:center;">Centered Heading</h1>
<p>I am normal</p>
<p style="color:yellow;background-color:gray;">I am yellow and gray background</p>
<p style="color:tomato;background-color:powderblue;">I am tomato and powderblue background</p>
<p style="font-size:35px;color:green;">I am big and green</p>
<p style="font-family:courier;"><strong>This is a paragraph.</strong></p>
- Use background-color for background color
- Use color for text colors
- Use font-family for text fonts
- Use font-size for text sizes
- Use text-align for text alignment
- HTML Comments
html에서의 주석이다. 주석은 웹에서 보이지 않는다.
<!-- 주석입니다.~ -->
- HTML Links
html link는 typerlink이다. link를 클릭해서, 다른 document로 넘어갈 수 있다.
<a> element 의 attribute에서 가장 중요한 부분은 href인데, 이 부분에 link의 destination이 들어간다.
<a href="https://www.w3schools.com">This is w3 schools. Click it!</a>

- HTML Images
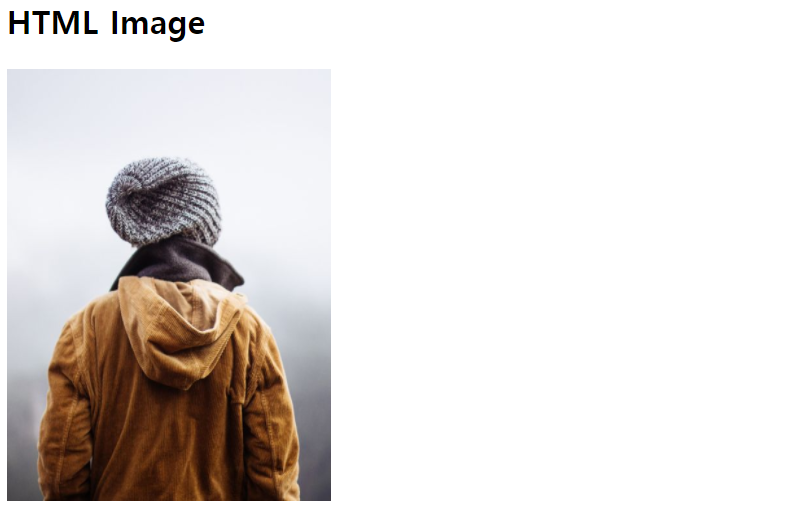
html을 통해서 웹 페이지에 image를 올릴수 있다.
<h2>HTML Image</h2>
<img src="img_girl.jpg" alt="Girl in a jacket" width="240" height="320">
- HTML Table
<table style="width:60%">
  <tr>
    <th>Firstname</th>
    <th>Lastname</th>
    <th>Age</th>
  </tr>
  <tr>
    <td>Eve</td>
    <td>Jackson</td>
    <td>94</td>
  </tr>
  <tr>
    <td>John</td>
    <td>Doe</td>
    <td>80</td>
  </tr>
</table>

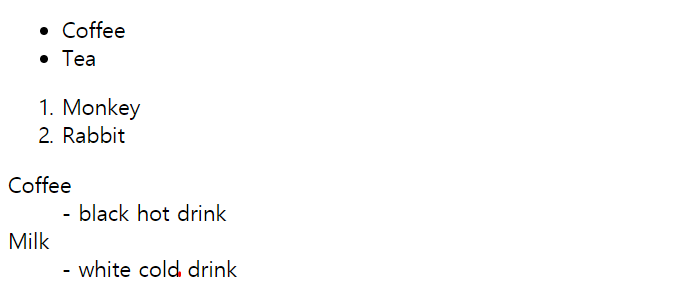
- HTML Lists
요소들을 list로 묶을 수 있다.
<ul>
  <li>Coffee</li>
  <li>Tea</li>
</ul>

<ol>
  <li>Monkey</li>
  <li>Rabbit</li>
</ol>

<dl>
  <dt>Coffee</dt>
  <dd>- black hot drink</dd>
  <dt>Milk</dt>
  <dd>- white cold drink</dd>
</dl>
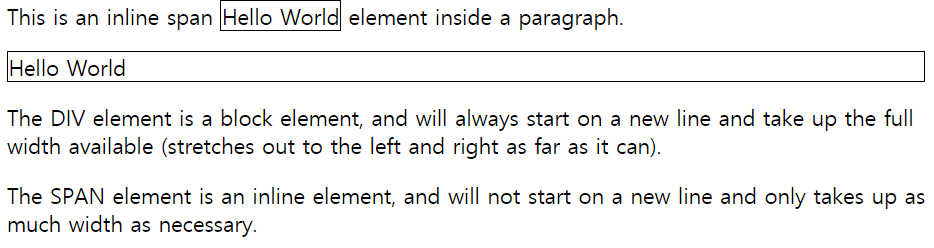
- HTML Block and Inline elements
block-level element는 새 줄에서 시작하고, 넓이를 꽉 채운다. inline element는 새 줄에서 시작하지 않고 가능한 만큼 차지한다.
<p>This is an inline span <span style="border: 1px solid black">Hello World</span> element inside a paragraph.</p>

<div style="border: 1px solid black">Hello World</div>

<p>The DIV element is a block element, and will always start on a new line and take up the full width available (stretches out to the left and right as far as it can).</p>

<p>The SPAN element is an inline element, and will not start on a new line and only takes up as much width as necessary.</p>
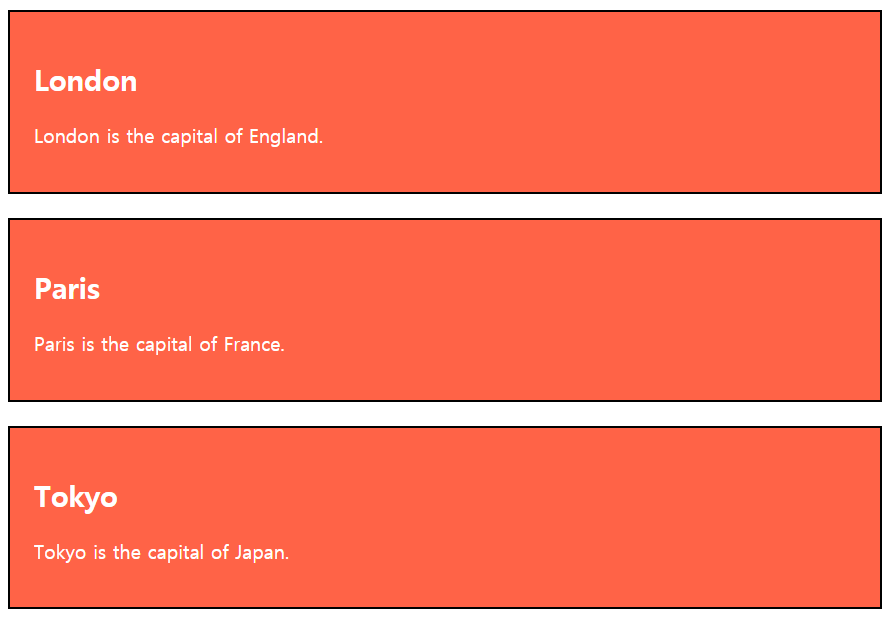
- HTML class Attribute
The HTML class attribute는 HTML element에 대해 class를 나눌때 사용한다.
Multiple HTML elements can share the same class.
class는 스타일에서 점(.)을 찍는다.
<head>
<style>
.city {
  background-color: tomato;
  color: white;
  border: 2px solid black;
  margin: 20px;
  padding: 20px;
}
</style>
</head>
<body>

<div class="city">
<h2>London</h2>
<p>London is the capital of England.</p>
</div>

<div class="city">
<h2>Paris</h2>
<p>Paris is the capital of France.</p>
</div>

<div class="city">
<h2>Tokyo</h2>
<p>Tokyo is the capital of Japan.</p>
</div>

</body>
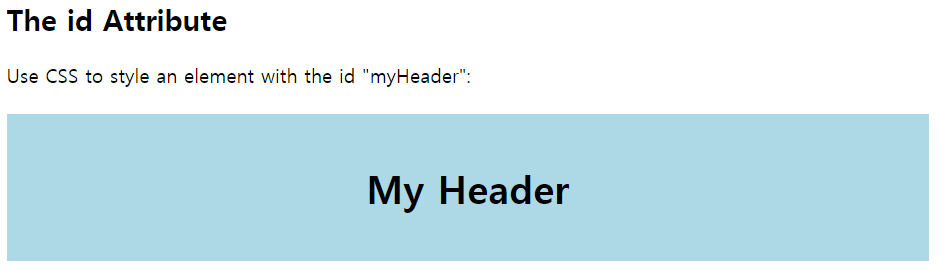
- HTML id Attribute
The HTML id attribute는 HTML element에 대해 unique한 id를 나눌 때 사용된다.
You cannot have more than one element with the same id in an HTML document.
id는 style에서 #으로 표시한다.
<head>
<style>
#myHeader {
  background-color: lightblue;
  color: black;
  padding: 40px;
  text-align: center;
}
</style>
</head>
<body>

<h2>The id Attribute</h2>
<p>Use CSS to style an element with the id "myHeader":</p>

<h1 id="myHeader">My Header</h1>

</body>
CSS
- CSS Background Color
글씨의 배경색을 설정하는 것으로 background-color를 사용한다.
<h1 style="background-color:DodgerBlue;">Hello World</h1>
<p style="background-color:Tomato;">Lorem ipsum...</p>

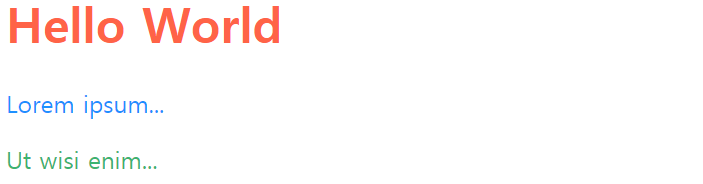
- CSS Text Color
글씨의 색깔을 설정하는 것으로 color를 사용한다.
<h1 style="color:Tomato;">Hello World</h1>
<p style="color:DodgerBlue;">Lorem ipsum...</p>
<p style="color:MediumSeaGreen;">Ut wisi enim...</p>
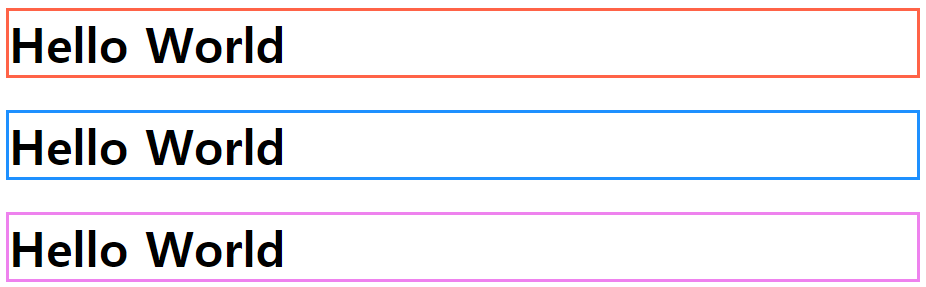
- CSS Border Color
글자의 테두리에 색을 설정한다.
<h1 style="border:2px solid Tomato;">Hello World</h1>
<h1 style="border:2px solid DodgerBlue;">Hello World</h1>
<h1 style="border:2px solid Violet;">Hello World</h1>
- CSS Margins
margin 속성은 경계 바깥쪽에 space공간을 얼마나 둘지를 의미한다.
<head>
<style>
div {
  margin: 70px;
  border: 1px solid #4CAF50;
}
</style>
</head>
<body>

<div>This element has a margin of 70px.</div>

</body>

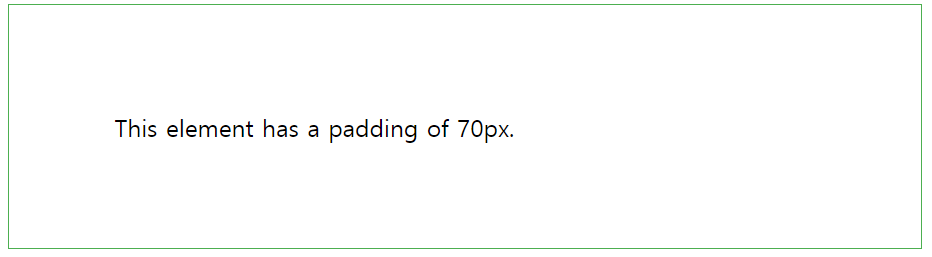
- CSS Padding
padding속성은 경계 내부에, content주변에 space를 얼마나 둘지를 의미한다.
<head>
<style>
div {
  padding: 70px;
  border: 1px solid #4CAF50;
}
</style>
</head>
<body>

<div>This element has a padding of 70px.</div>

</body>
- CSS Outline
outline은 element주변에 경계선을 긋는 것이다.
<head>
<style>
p {
  border: 3px solid black;
  outline: green solid 10px;
  margin: auto;
  padding: 10px;
  text-align: center;
}
</style>
</head>
<body>

<p>This element has a 3px black border and a green outline with a width of 10px.</p>

</body>

- CSS Fonts
CSS font는 font family, boldness, size 그리고 style of a text를 정의한다.
<head>
<style>
.serif {
  font-family: "Times New Roman", Times, serif;
}

.sansserif {
  font-family: Arial, Helvetica, sans-serif;
}

.monospace {
  font-family: "Lucida Console", Courier, monospace;
}
</style>
</head>
<body>

<p class="serif">This is a paragraph, shown in the Times New Roman font.</p>
<p class="sansserif">This is a paragraph, shown in the Arial font.</p>
<p class="monospace">This is a paragraph, shown in the Lucida Console font.</p>

</body>

- CSS Icons
Font Awesome icons으로 아이콘을 사용하려면, fontawesome.com에 가입하고, HTML 페이지의 <head>부분에 다음 코드를 넣는다. <script src="https://kit.fontawesome.com/yourcode.js"></script>
<head>
<title>Font Awesome Icons</title>
<meta name="viewport" content="width=device-width, initial-scale=1">
<script src="https://kit.fontawesome.com/a076d05399.js"></script>
<!--Get your own code at fontawesome.com-->
</head>
<body>

<i class="fas fa-cloud"></i>
<i class="fas fa-heart"></i>
<i class="fas fa-car"></i>
<i class="fas fa-star" style="font-size:24px;color:yellow;"></i>
<i class="fas fa-plane" style="font-size:30px;color:red;"></i>

</body>
![]()
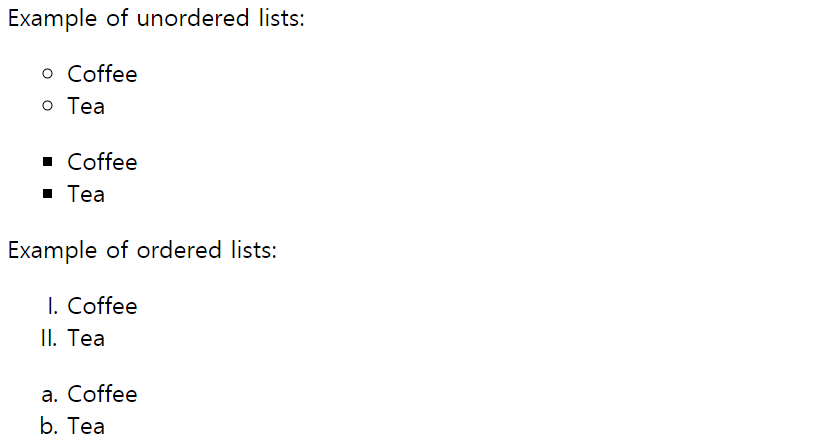
- CSS Lists
css list에는 unorderede lists(점으로 표시)와 ordered list(숫자로 표시)가 있다.
<p>Example of unordered lists:</p>
<ul style="list-style-type: circle;">
  <li>Coffee</li>
  <li>Tea</li>
</ul>

<ul style="list-style-type: square;">
  <li>Coffee</li>
  <li>Tea</li>
</ul>

<p>Example of ordered lists:</p>
<ol style="list-style-type: upper-roman;">
  <li>Coffee</li>
  <li>Tea</li>
</ol>

<ol style="list-style-type: lower-alpha;">
  <li>Coffee</li>
  <li>Tea</li>
</ol>
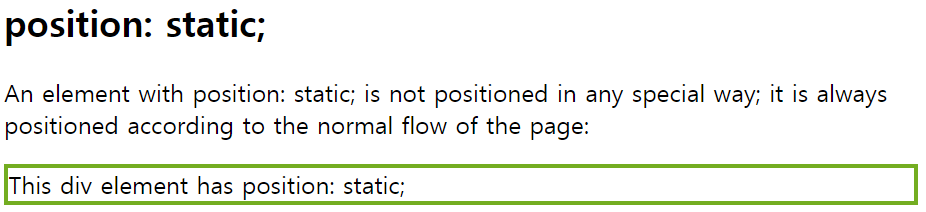
- CSS Layout - position: static
Static positioned elements는 상하좌우의 속성에 영향을 받지 않는다.
<head>
<style>
div.static {
  position: static;
  border: 3px solid #73AD21;
}
</style>
</head>
<body>

<h2>position: static;</h2>

<p>An element with position: static; is not positioned in any special way; it is
always positioned according to the normal flow of the page:</p>

<div class="static">
  This div element has position: static;
</div>
- CSS Layout - position: relative
<style>
div.relative {
  position: relative;
  left: 30px;
  border: 3px solid #73AD21;
}
</style>
</head>
<body>

<h2>position: relative;</h2>

<p>An element with position: relative; is positioned relative to its normal position:</p>

<div class="relative">
This div element has position: relative;
</div>

</body>

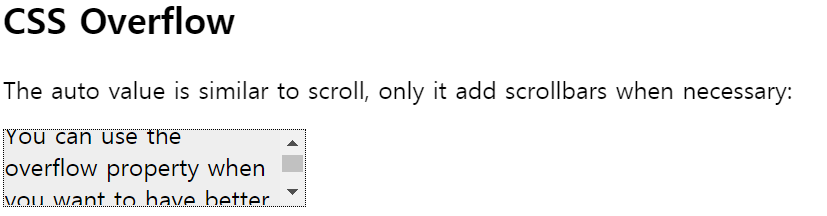
- CSS Layout - overflow: auto
auto로 하면 scroll과 비슷하지만, 필요한 경우에만 scroll이 된다.
<head>
<style>
div {
  background-color: #eee;
  width: 200px;
  height: 50px;
  border: 1px dotted black;
  overflow: auto;
}
</style>
</head>
<body>

<h2>CSS Overflow</h2>
<p>The auto value is similar to scroll, only it add scrollbars when necessary:</p>

<div>You can use the overflow property when you want to have better control of the layout. The overflow property specifies what happens if content overflows an element's box.</div>

</body>
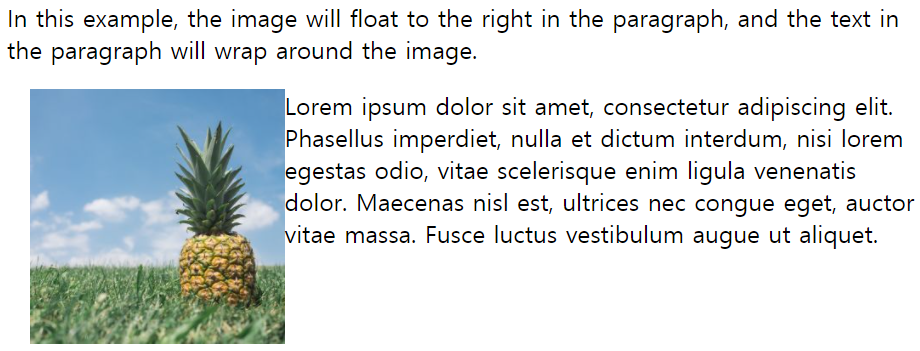
- CSS Layout - float
- float: left
<head>
<style>
img {
  float: left;
}
</style>
</head>
<body>

<p>In this example, the image will float to the right in the paragraph, and the text in the paragraph will wrap around the image.</p>

<p><img src="pineapple.jpg" alt="Pineapple" style="width:170px;height:170px;margin-left:15px;">
Lorem ipsum dolor sit amet, consectetur adipiscing elit. Phasellus imperdiet, nulla et dictum interdum, nisi lorem egestas odio, vitae scelerisque enim ligula venenatis dolor. Maecenas nisl est, ultrices nec congue eget, auctor vitae massa. Fusce luctus vestibulum augue ut aliquet.</p>

</body>
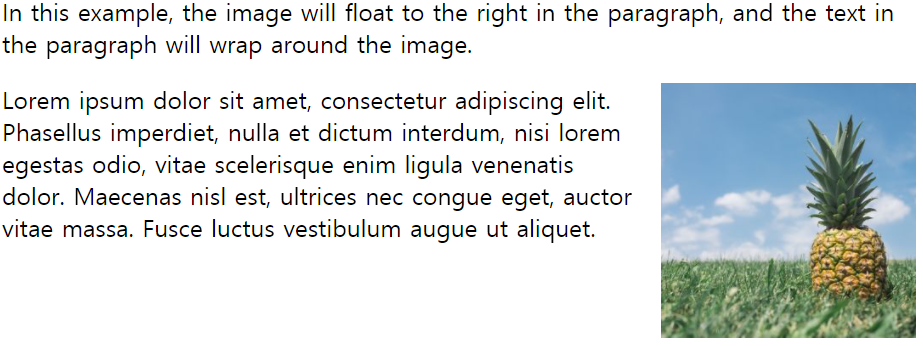
- float: right
<head>
<style>
img {
  float: right;
}
</style>
</head>
<body>

<p>In this example, the image will float to the right in the paragraph, and the text in the paragraph will wrap around the image.</p>

<p><img src="pineapple.jpg" alt="Pineapple" style="width:170px;height:170px;margin-left:15px;">
Lorem ipsum dolor sit amet, consectetur adipiscing elit. Phasellus imperdiet, nulla et dictum interdum, nisi lorem egestas odio, vitae scelerisque enim ligula venenatis dolor. Maecenas nisl est, ultrices nec congue eget, auctor vitae massa. Fusce luctus vestibulum augue ut aliquet.</p>

</body>
- CSS Layout - Center Align Text
element안에 text를 center로 하고 싶으면 text-align: center로 하면 된다.
<head>
<style>
.center {
  text-align: center;
  border: 3px solid green;
}
</style>
</head>
<body>

<h2>Center Text</h2>

<div class="center">
  <p>This text is centered.</p>
</div>

</body>

- CSS Layout - Center an Image
<head>
<style>
img {
display: block;
margin-left: auto;
margin-right: auto;
}
</style>
</head>
<body>
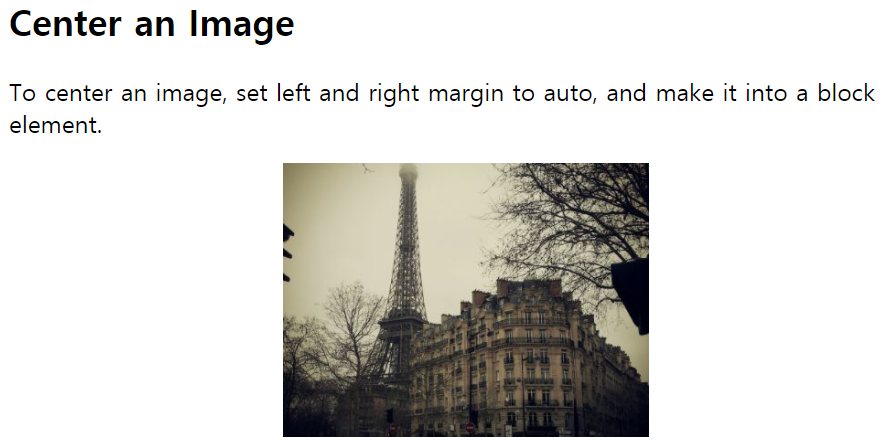
<h2>Center an Image</h2>
<p>To center an image, set left and right margin to auto, and make it into a block element.</p>
<img src="paris.jpg" alt="Paris" style="width:40%">
</body>